Stream professional content with ease
Streamlabs OBS is an easy-to-setup streaming software built for professional streamers
What is Streamlabs OBS?
Streamlabs OBS is a fantastic tool for any streamer to use to get their content online. It’s integrated with all of the Streamlabs features which gives you access to chat, recent events, stream control and a stream preview all under one roof. It’s super easy to understand, simple to set up and a really effective software to use for streaming.
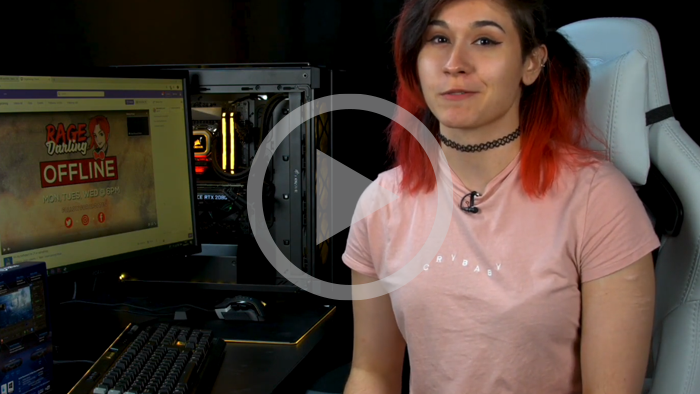
Watch our video tutorial instead
For a more detailed, free and easy setup guide for Streamlabs OBS simply watch our video

Download and install Streamlabs OBS
DownloadTo get started head to streamlabs.com and create an account or sign in with your current one. Streamlabs will allow you to sync your details with Twitch, YouTube, Mixer, Facebook, Periscope, Picarto and PayPal. Installing your streaming software on an SSD is a great alternative to your HDD if you have one available. This will ensure that it loads a lot faster and more efficiently than on a HDD.

Sign in with your streaming account

Next, open up the Streamlabs OBS software and sign in with your streaming account. Streamlabs currently supports Twitch, YouTube and Mixer. I’m going to be streaming to Twitch so I’m signing in with my Twitch account.
Now the program will run through the optimisation installer. Here you have the option to important from OBS if you previously used it or you can start your overlay from scratch.

Run through the optimisation installer
Now your PC is going to optimise itself for its specifications and the network capabilities, making sure it gives you the best quality it can. You can click through the program and let it automatically detect its settings or you can manually set it up yourself, here's how:
On the top right corner click on settings and you'll want to select NVENC as your encoder if you’re streaming on a low-end CPU. Next go to the output settings and set your bitrate according to what type of quality you’re streaming at.
1080p 60fps, your bitrate should be 4,500 to 6,000 kbps.
1080p 30fps, your bitrate should be 3,500 to 5,000 kbps.
720p 60fps, your bitrate should be 3,500 to 5,000 kbps.
720p, 30fps, your bitrate should be 2,500 to 4,000 kbps.
This highly depends on your internet connection however and a lot of it is trial and error. If your stream is experiencing a lot of buffer, the likely factor is that your ISP will not let you stream at that bitrate and you need to turn it down.
Finally head to video and select your base canvas, this is what you see, as 1080p. Set the output resolution and FPS type, which is what your stream sees, and select according to your ISP. Bare in mind, higher quality isn’t always better. If you’re an affiliate on Twitch you won’t get encoding options and your viewers will not be able to decrease the quality of your stream which means you’re ultimately condemning them to a buffering, lagging stream because their ISP can’t download it. So keep your audience in mind. Sometimes a crisp quality, non-laggy stream is better than a full HD 1080p 60FPS stream.

Create or import your overlay
Now you can begin creating an overlay. If you chose to import your settings from a previous streaming software you can skip over this step. If not, you now have two choices. You can either create your own overlay from scratch using image creation programs like Photoshop, or you can utlizise the Streamlabs Theme store overlays to get an awesome looking package in a few easy steps.

Go live!
Before you go live you may want to check out your alerts too. Go to https://streamlabs.com/dashboard/alertbox and customise your alerts by choosing the font style, the text, the sound, image and duration. Alternatively you can choose a free asset pack on the Streamlabs Themes store.
When you’re ready, select “Go Live” in the bottom right hand corner. Enter your details for the stream title, the game and the tags, then hit “confirm and go live” and your stream will start immediately. View your dashboard and keep an eye on all your figures by going to https://www.twitch.tv/dashboard. Here you can view everything you need to monitor your stream.
Looking to build your streaming setup?
Take a look at our streamers buyers guide, inspired by streamers for streamers
Find out more